Recently, I’ve been focusing on dyeing wool top and rovings for Black Sheep Gathering, which takes place June 29-July 1 in Albany, Oregon at the Linn County Fairgrounds. The Tour de Fleece launches the last day of the festival and I thought I’d take the time to explain how the number of repeats in a top effect a finished yarn. (If you want to check out the fiber or buy it before the festival, hop on over to the shop now).
I’ve noticed over the years that my spinning customers have different levels of experience with using hand-dyed top. The more experienced among them buy for the color of the braid, the type of wool in the braid and possibly even match the breed of wool to the project they have in mind. These spinners will rip apart top to get what they want and know how to blend their fibers to get the color combinations they want.
The less experienced spinners are never quite sure what they are buying and don’t really know how the top will turn out when they spin it from one end to another. When you imagine how the top will turn out you can take into account how it’s dyed and plan strategically from there. They often ask how they can preserve the color order.
The short answer is to try Navajo plying. Here’s a great video from Sarah Anderson. Fiber though makes a lot of yarn relative to it’s length (this varies with the fiber type) and even though it might look like a short amount of color on the braid, it might actually be a lot of color chunks in a finished product.
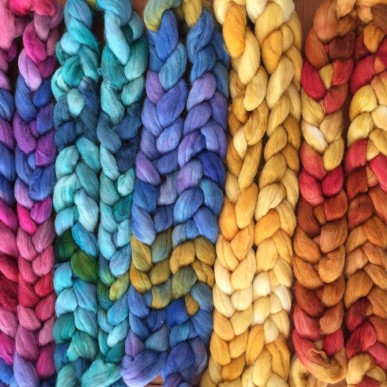
When buying gradient and ombre dyed top from me, you’ll notice that you get a number of repeats of a pattern, rather than a braid dyed in the number of colors and order it goes in and this article is aimed at explaining why. Instead of seeing green, blue purple, you might see that pattern repeated five or six times.
“Wait!” you say, “I thought this top would make an ombre yarn.”
Here are some things you need to consider.
- When you spin a top,n the end, you should have a yarn that weighs similarly to the original top. Of course, in reality, bits end up on your shirt, accidentally remain on another spindle, walking off with your cat, stolen by your child, etc.) 3.5-4 oz of top can be turned into fingering weight, sport, DK, worsted, bulky, etc. if you have the spinning chops.
- The number of repeats you want to put into that yarn matter! A small object is going to need a top with multiple repeats of a color so they will all show up in the project!
- Number of plies. For a two-ply yarn, I’m going to want to have my fiber dyed in such a way that will allow me to divide it in half easily. I used to think that splitting it down the middle worked well, but during a class I took from Judith McKenzie I learned that the way roving is made creates natural lines along thirds so it’s quite hard to split it that way. Instead, she’s taught me to favor ripping it across. This has improved the likelihood that the
 colors will line up and will reduce the barber-pole effect or the need to yank out offending patches of yarn.
 - If I want to make an item that is going to be a matched pair out of plied yarn, I will need MINIMUM of four color repeats!
- A six pattern repeat top is actually set up for two repeats of a three-ply yarn, or three repeats of a two ply yarn. A four pattern repeat top is going to have the least waste for a four-ply one repeat colorway or a two-ply two repeat colorway.
- Length of the fiber: Some tops and most rovings are really long, which affect the way that I dye them.
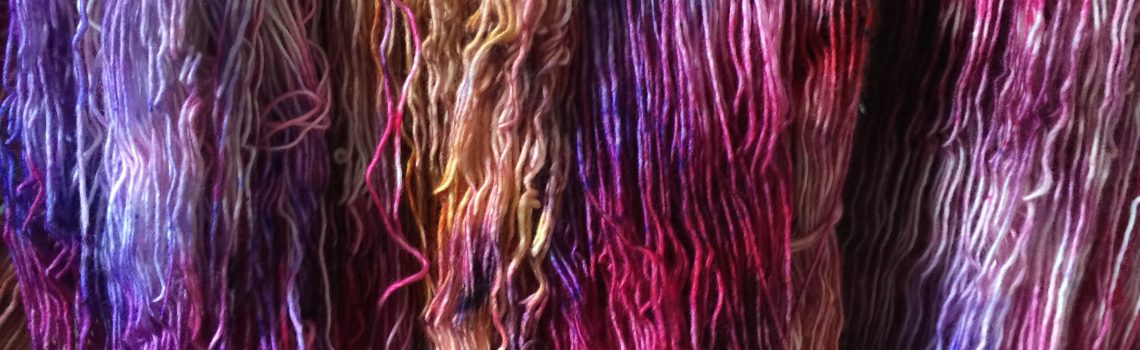
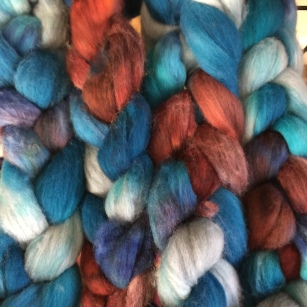
I hope that shows you how easily the tops in these photos can be spun into gradient and ombre yarns. If you are interested in ripping them up to spin one long gradient, look here and then check out the referenced article on making rolags from combed top by Southern Cross Fibre.

Thank you! I’ve pretty much figured this out on my own, but seeing it clearly described is a big help!